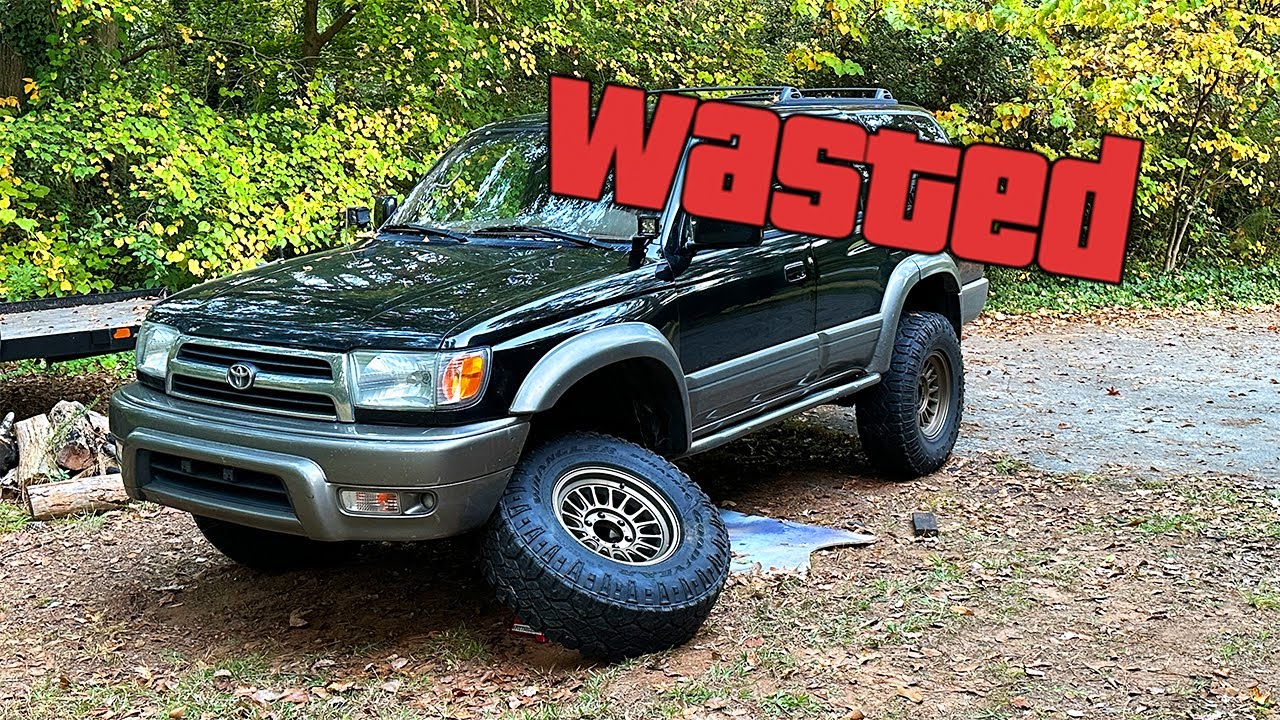
The 3rd generation Toyota 4Runner (1996–2002) is a legend among off-road enthusiasts for its reliability and performance. However, one known weak point of these vehicles is the lower ball joint (LBJ), which, if it fails, can lead to catastrophic consequences. In this article, we’ll explore why lower ball joint failures happen, the risks involved, and how to prevent this common issue to keep your 4Runner running safely.
What is the Lower Ball Joint, and Why Is It Important?
The lower ball joint is a critical suspension component that connects the control arm to the steering knuckle. It allows the front wheels to pivot while also supporting the weight of the vehicle. A failed lower ball joint can cause a complete loss of steering control, often resulting in the wheel separating from the suspension, leading to accidents or significant vehicle damage.

Why Does Lower Ball Joint Failure Happen on 3rd Gen 4Runners?
Several factors contribute to the lower ball joint being a common failure point:
1. Wear and Tear
- The ball joints on 3rd gen 4Runners wear out over time due to normal use. The combination of the vehicle’s weight, road vibrations, and steering movements eventually takes its toll.
- Off-road driving, rough terrain, and potholes accelerate this wear.
2. Aging Components
- Many 3rd gen 4Runners are now over 20 years old, and the original ball joints may not have been replaced. Rubber seals around the joint degrade over time, allowing contaminants like dirt and water to enter, causing the joint to wear out faster.
3. Lack of Maintenance or Inspection
- The factory lower ball joints are non-greasable, meaning you cannot easily replenish the grease inside the joint. Once the factory grease deteriorates, wear accelerates.
- Owners often overlook ball joint inspections during routine maintenance.
4. Aftermarket Lifts and Bigger Tires
- Many 4Runner owners install suspension lifts and larger tires to improve off-road performance. These modifications put extra strain on the lower ball joints by altering suspension geometry and increasing leverage on the joints.
- Poor-quality aftermarket ball joints may also wear out faster than OEM parts.
5. Improper Torque Settings
- Incorrectly torquing the lower ball joint bolts during installation can weaken the joint. Overtightening or under-tightening the bolts can cause uneven stress on the ball joint, leading to premature failure.
Signs of Lower Ball Joint Failure
Recognizing the early warning signs of ball joint failure is crucial for preventing a catastrophic event. Common symptoms include:
- Clunking Noise: A knocking or clunking sound when driving over bumps or turning.
- Steering Play: Excessive looseness or play in the steering.
- Vibration: Unusual vibrations in the front end of the vehicle.
- Uneven Tire Wear: Accelerated or uneven wear on the front tires.
- Visible Damage: Torn rubber boots or leaking grease around the ball joint.
If you notice any of these symptoms, have your ball joints inspected immediately.

The Risks of Ball Joint Failure
If a lower ball joint fails completely, it can result in:
- Loss of Steering Control: The wheel can collapse inward or outward, making the vehicle uncontrollable.
- Separation of the Wheel Assembly: This can cause the front wheel to detach, leading to severe damage to the suspension and steering components.
- Accidents: In the worst-case scenario, a ball joint failure at high speeds or while off-roading can cause a serious accident.
How to Prevent Lower Ball Joint Failure
Preventative maintenance and proactive care can help you avoid the dangers of ball joint failure. Follow these steps:
1. Inspect Regularly
- Inspect the ball joints during routine maintenance, especially if you drive off-road or have a high-mileage 4Runner. Look for torn boots, grease leaks, or excessive play in the joint.
2. Replace Worn Ball Joints
- Toyota recommends inspecting the lower ball joints every 15,000 miles and replacing them as needed. Consider replacing them proactively around 100,000–150,000 miles or sooner if you notice symptoms.
3. Use Quality OEM or Aftermarket Parts
- OEM ball joints (Toyota Part No. 43340-39465) are highly recommended for their durability and precise fit. If you opt for aftermarket parts, choose high-quality brands like Moog or Koyo that meet or exceed OEM standards.
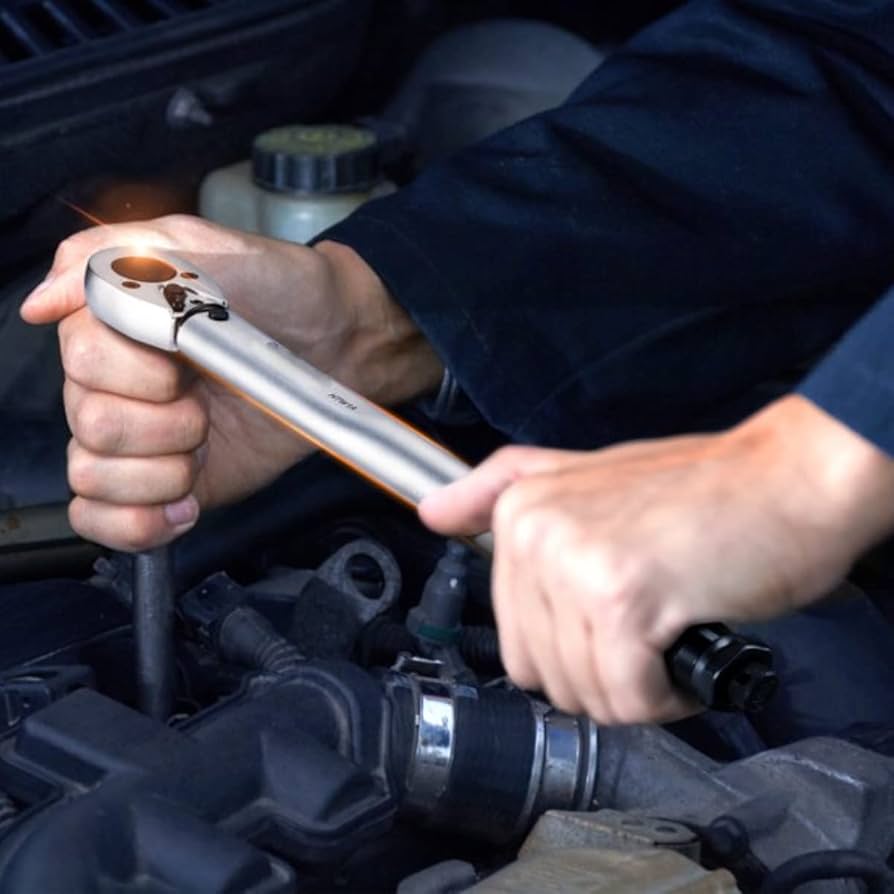
4. Maintain Proper Torque Settings
- When installing lower ball joints, torque the bolts to the manufacturer’s specifications:
- Lower Ball Joint Bolts: 59 ft-lbs.
-
Castle Nut: 105 ft-lbs (and install a new cotter pin).
Incorrect torque can lead to joint failure, so double-check with a torque wrench.
5. Avoid Overloading Your Suspension
- If you’ve lifted your 4Runner or installed larger tires, ensure your suspension components are properly aligned and strengthened to handle the extra stress.
6. Replace in Pairs
- Always replace ball joints on both sides of the vehicle at the same time to maintain balanced suspension performance.

What to Do If a Ball Joint Fails
If you suspect a ball joint has failed, stop driving immediately. Continuing to drive can cause more damage or lead to an accident. Have the vehicle towed to a repair shop or perform the repair yourself if you're experienced with suspension work.
Conclusion
The lower ball joint is a critical component of the 3rd gen Toyota 4Runner’s suspension, and its failure can lead to serious consequences. However, with regular inspections, proper maintenance, and proactive replacement using high-quality parts, you can prevent ball joint issues and ensure your 4Runner remains safe and reliable for years to come.
Stay vigilant, and give your 4Runner the care it deserves so you can continue to enjoy its legendary performance both on and off the road.

Leave a comment
All comments are moderated before being published.
This site is protected by hCaptcha and the hCaptcha Privacy Policy and Terms of Service apply.